Network Gateway & Wzzard™ Edge Node Device Configuration Recipe for IBM

Use the Wzzard Platform to connect to the IBM Internet of Things Foundation. Then you can visualise the data generated by the Wzzard’s connected sensors.

.

B+B SmartWorx® Wzzard™ Intelligent Wireless Sensor Platform
IBM BlueMix

INGREDIENTS

  • Spectre Network Gateway
  • IBM Module for Spectre Network Gateway
  • Wzzard Intelligent Edge Nodes
  • Sensors
  • Wzzard Android App

PREPARE

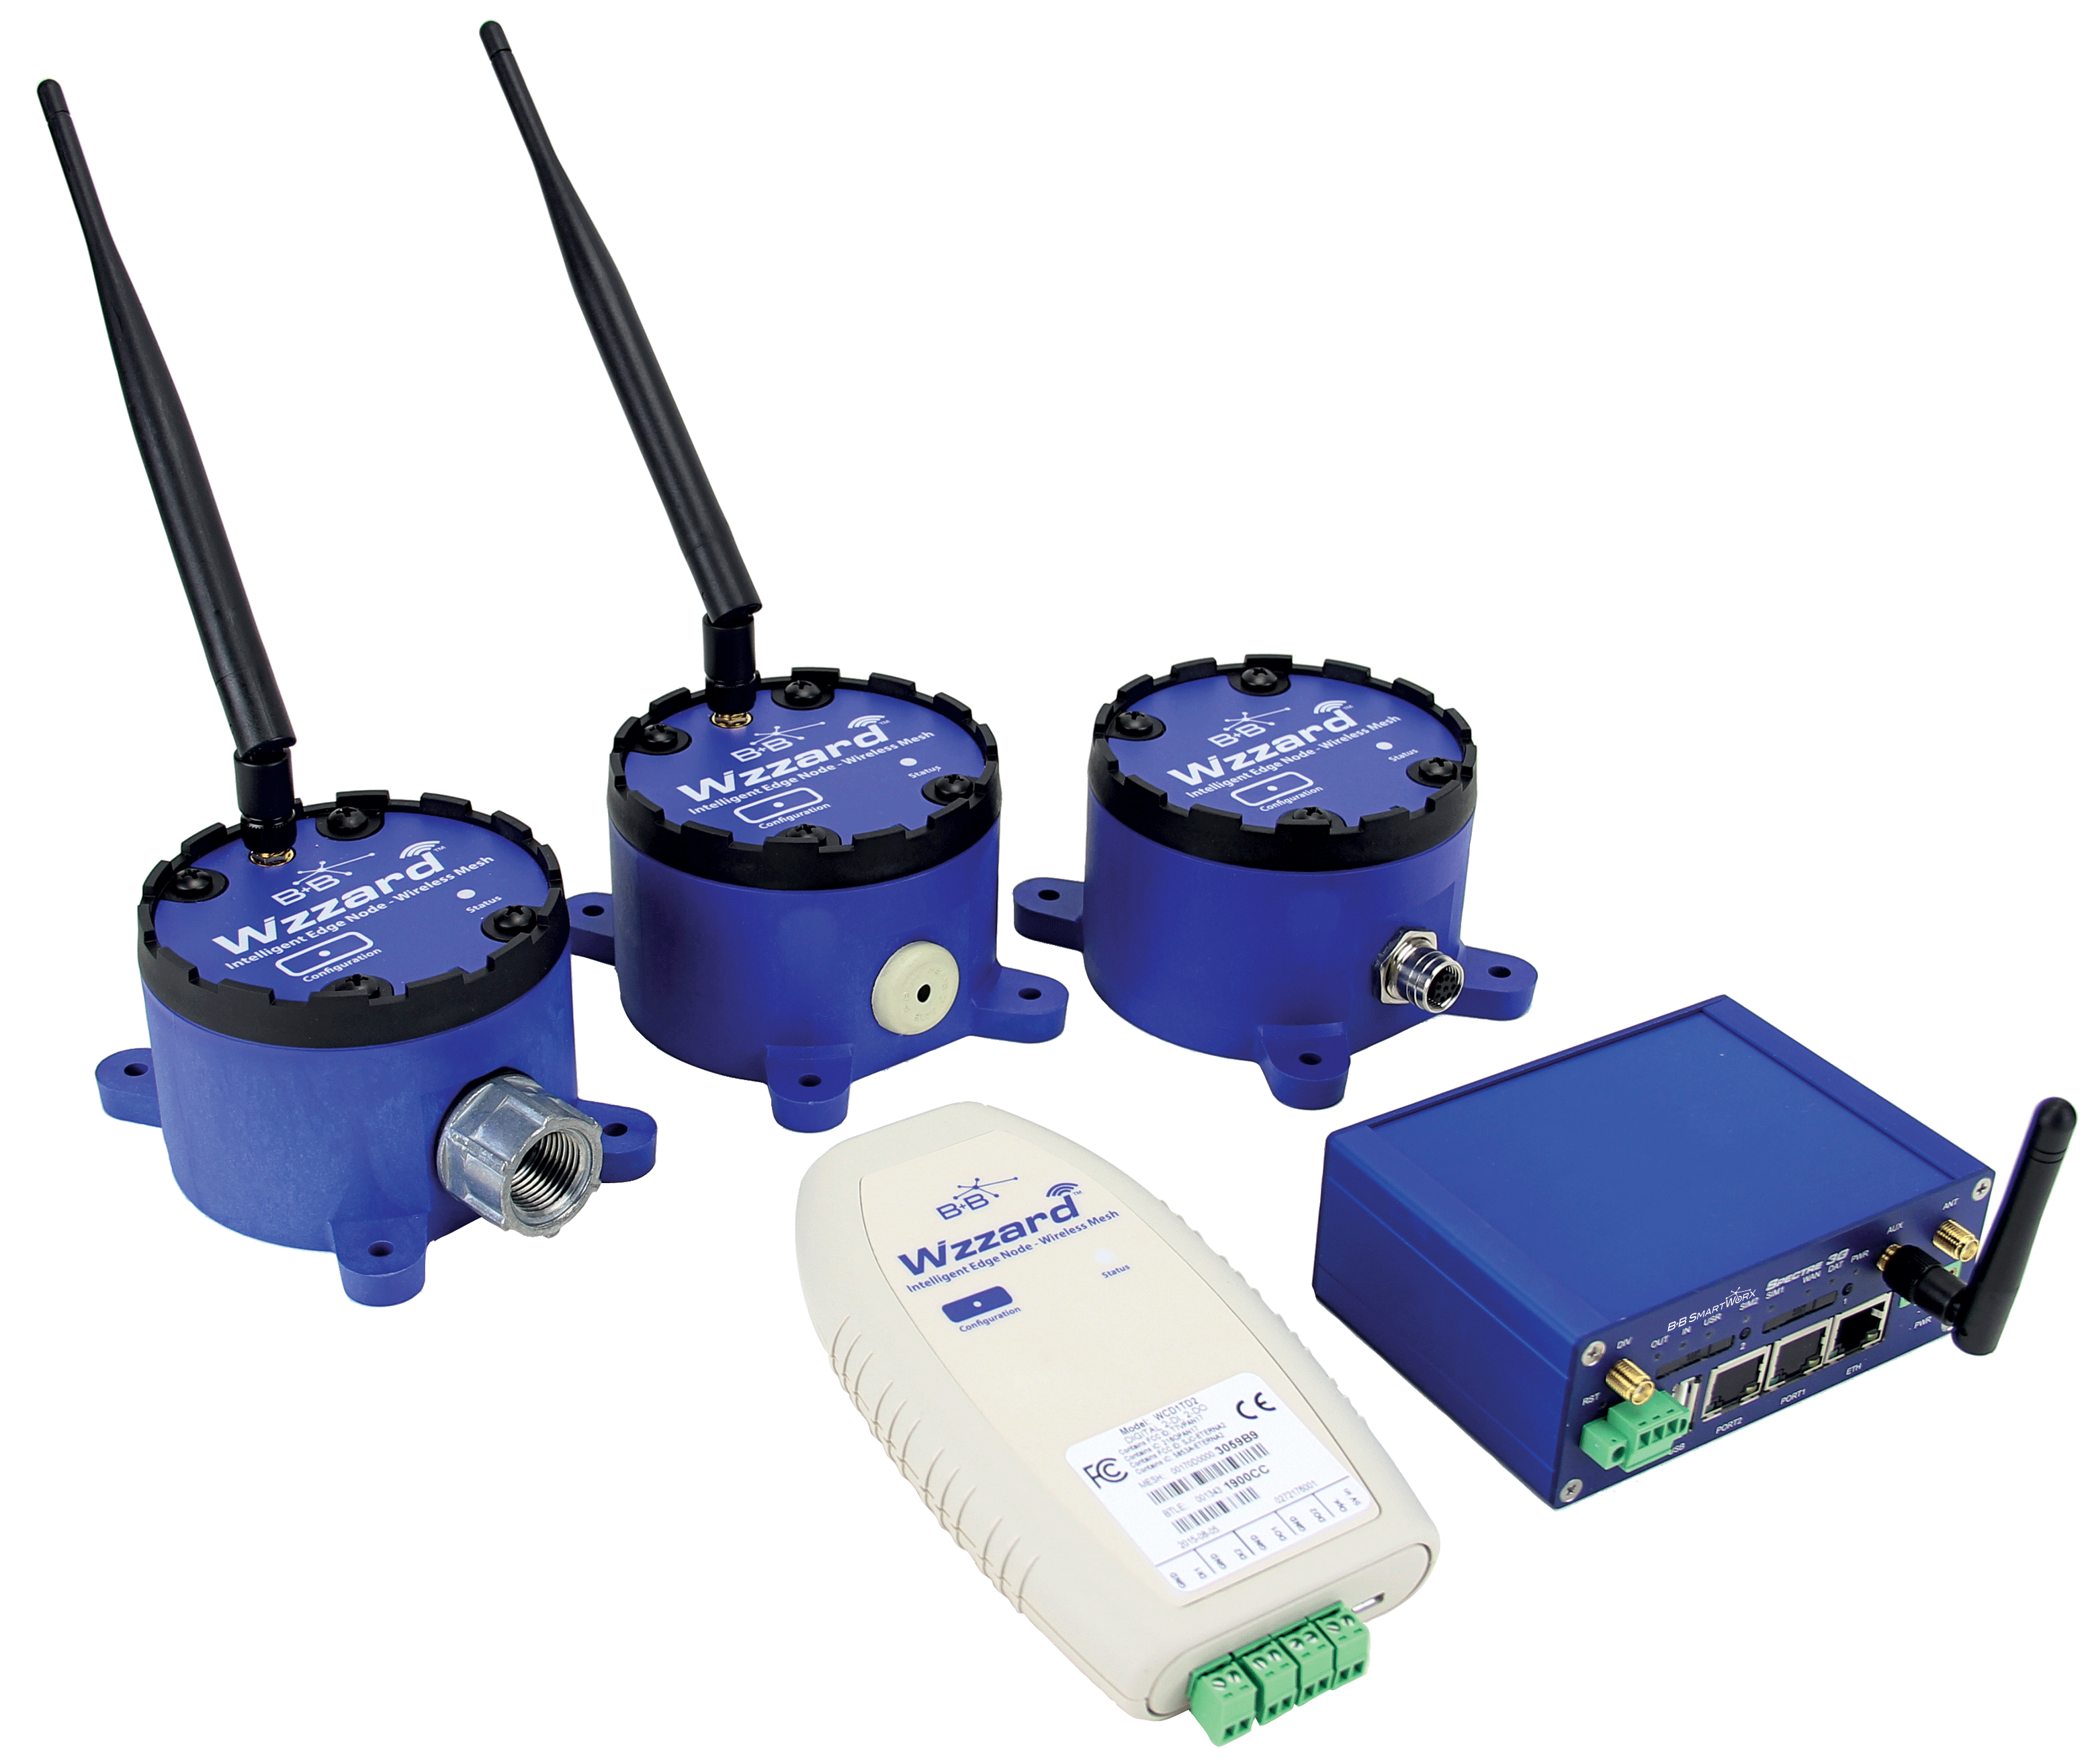
Get your device ready.

  1. Connect the Spectre Network Gateway to the Internet. Refer to the Gateway Quickstart Guide as the first step for instruction on how to commission your network gateway.
  2. If you are using the Ethernet port on the gateway to connect to the Internet. Follow the instructions below:
    • 2.1  Determine an unused IP address on your network outside the DHCP pool as well as your mask, gateway IP, and DNS server IP.
    • 2.2  Connect a computer directly to the ETH port on the gateway.
    • 2.3  Open a browser and log in to the gateway. Default IP address is 192.168.1.1. Username and password are both “root”
    • 2.4  Select “LAN” under the Configuration section on the left side.
    • 2.5  On Primary LAN set DHCP Client to “Disabled”
    • 2.6  Enter the IP address, Mask, Gateway, and DNS server address you determined in step 2.1.
    • 2.7  Set Bridged to “yes”, and Media Type to “auto-negotiate”
    • 2.8  Uncheck Enable dynamic DHCP leases.
    • 2.9  On Secondary LAN set DHCP Client to “disabled, and Media Type to “auto-negotiation”
    • 2.10  Click Apply button at the bottom of LAN Configuration menu

    Now you should be able to log in to the gateway from your network using the IP address you entered in step 2.6

  3.  Make sure the IoT user module is installed.
    • 3.1  Connect a computer to the Ethernet port on the router.
    • 3.2  Browse to the IP address of the router (default is 192.168.1.1) and the web interface will load.
    • 3.3  On the side bar, under ‘Customization’, click the link to the ‘User Modules’ settings page.
    • 3.4  Ensure the IoT Gateway Module exists.
    • 3.5  Open the module page and click ‘IoT Gateway’, On the IoT Gateway page, ensure the MQTT Broker enable is set to ON, Port is set to 1883 and Bridge Enable is set to Off.
  4. Refer to the Wzzard SmartMesh IP Quick Start Guide for details on connecting sensors and commissioning Wzzard Edge Nodes.

CONNECT (QUICKSTART)

Internet of Things Cloud QuickStart connection.

  1. Download the IBM module. Part number WSDIBM.
  2. Add the module to the router through the web interface.
    • 2.1  Browse to the IP address of the router as above. The web interface will load if it is not still up from a previous step.
    • 2.2  On the side bar, under ‘Customization’, click the link to the User Modules settings page.
    • 2.3  On the page, there will be an option to browse your file system for a user module.
    • 2.4  Click the Add or Update button and wait for the confirmation screen to appear.
    • 2.5  The new user module should appear in the list as IBM Message Router. Click this and you will be directed to the web interface for this module.
    • 2.6  Set the publish mode to Quickstart and leave the rest of the configuration as is.
    • 2.7  The module should start automatically. Click on System Log to open log and ensure it is started.
    • 2.8  If the router fails to connect for any reason (cellular network drop out) it will need restarting which can be done in the web interface for the module by clicking Restart Module.

VISUALISE (QUICKSTART)

Real-time visualization of device data.

  1. Locate the MAC address of the Spectre Gateway on the “General” page of the router interface.
  2. Browse to http://quickstart.internetofthings.ibmcloud.com and enter the MAC address of the router into the text box to view the data.

**Note: The MAC address field must be entered in lowercase and not contain colons when in Quickstartmode.

Example, if the device has a MAC address of 00:0A:14:82:BD:C6 change it to 000a1482bdc6

SIGN UP OPTIONS

You can sign up and register devices to an Internet of Things Foundation (IoTF) organization by using IBM Bluemix or the IBM Cloud Marketplace. Click here for more information on which option is right for you. Note: To register your devices using IBM Bluemix, you must first create a Bluemix account. Signing up with IBM Bluemix

  1. Go to Bluemix. If you are an existing Bluemix user log in as usual. If you are new to Bluemix you can sign up for their free 30 day trial.
  2. To register devices, you must first create an IoTF organization.
    • 2.1  Login to the Bluemix site with your account.
    • 2,2  Click on the DASHBOARD (at the top of the screen)
    • 2.3  Click on Internet of Things-y1 (in the middle of the page)
    • 2.4  Click on Launch dashboard (Under Connect your device)
    • 2.5  Click on Devices
    • 2.6  Click on Add Device (second on the top of the screen)
      • Enter the following information:
        • Device Type
        • Organization
        • Device ID (i.e. MAC Address of Gateway
      • **Note: The MAC address field must be entered in lowercase and not contain colons when registering with IBM.
      • Example, if the device has a MAC address of 00:0A:14:82:BD:C6
      • change it to 000a1482bdc6
    • 2.7  Click on Continue (blue button)

Signing up with IBM Cloud Marketplace

  1. Go to Marketplace (Internet of Things Foundation) and sign up for the 30 day free trial or select a price plan.
  2. When you are logged in to the Internet of Things Foundation you can register your device from the Quickstart visualization page. Alternatively, you can click on ‘Dashboard’ and select the option to ‘Add a new device’.

CONNECT (REGISTERED)

Install the user module as in Connect (QuickStart) and navigate to the web interface for the IBM message router user module.

  1. Configure
    • 1.1  Set the “Publish mode” to Registered and supply the following information:
      • IBM organization ID
      • IBM device type ID
      • IBM authentication token (above information was given to you by IBM when you registered the device in Section D, Step 2 “Register Devices”)

      1.2  Apply the changes and the module should start sending messages to the IBM portal in registered mode.

  2. View system log to check if module is started / running.
    • 2.1  The module should start automatically but if the router fails to connect to the IBM site for any reason (Cellular network drop out) it will need restarting which can be done in the web interface for the module.
    • 2.2  The system log will also show whether the module stopped running with a message explaining why.